White Chocolate Bread Pudding Recipe Revisited

The one recipe I have been asked for countless times is for White Chocolate Bread Pudding - WCBP. This is another New Orleans classic recipe and one that I picked up from my time living in the French Quarter (shout out Royal Cafe Krewe!). I love all manner of bread and butter puddings and this makes a delicious end to a Sunday roast dinner. You can make sweet, little fancy individual portions, portions for a few or big ol' trays of it to serve at parties. It is also ridiculously easy to make, inexpensive and most importantly, people love it! People love it so much that a friend of mine famously ate what has grown over time to six portions of it in one evening. He has requested this recipe so that he can make this with his wonderful daughters which makes me immeasurably happy - so I'm re-posting this for them. Scroll down a bit for my recipe and pics.

White Chocolate Bread Pudding recipe
Before we start - it's important to note that depending on the amount of bread used you may need to add a bit more milk and/or double cream at step 8 or if you are using bread from a larger loaf, a whole loaf or a bigger dish you can add an additional egg as well as chocolate, cream and milk. This is a great recipe to make your own and experiment with.

Ingredients


3/4 loaf of stale white bread or a whole baguette
250g good quality white chocolate - roughly 150g for the pudding, 100g for the sauce
250 ml whole milk
150 ml double cream - roughly 50ml for the pudding and 100ml for the sauce
50g caster sugar
two eggs
Butter
Strawberries in summer or sharp winter berries for garnish

wcbp bread.jpg
wcbp sliced.jpg
wcbp layer1.jpg
wcbp layer2.jpg
wcbp prebake.jpg
wcbp baked.jpg

Instructions

  1. Slice your bread in 2-3 cm slices. For this recipe I used a rectangular shallow dish, roughly 30cm x 20cm but any dish will do and depending on the size and shape of your bread slices you may want to test that your slices will fit your dish before the next step, cutting them into triangles or wedge them into place until you are happy that your bread and dish will work together and that the pudding will have at least two layers.
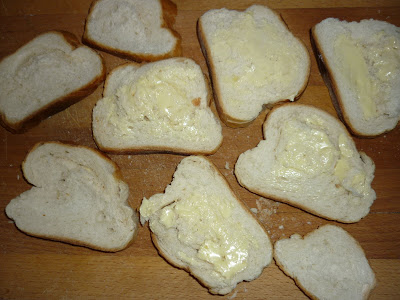
  2. Butter both sides of the bread. Use margarine if you must but I believe in butter.
  3. Arrange the slices in the dish trying not to leave any gaps.
  4. Scatter white chocolate in between each layer, one or two handfuls depending on personal preference, more if you want a more chocolate-y pudding or less for a pudding that is less sweet.
  5. Repeat until you have at least two layers.
  6. Top with a scattering of white chocolate.
  7. Add the milk, double cream, caster sugar and eggs into a jug and whisk. This pudding is quite sweet and stodgy so if you don't like sweet puddings you can halve the sugar or even leave it out, I have tried this and it still works and there is also the sauce to go on top which will add sweetness.
  8. Pour the mixture all over the bread, making sure that the mixture hits corners and crusts. The mixture will fully saturate the bread and you want the mixture to come up at least halfway up the dish. Remember the note from above that depending on the bread you used you may need a bit more liquid or you may have a bit more than necessary. If you are a bit short on liquid just add a bit more over the top.
  9. Now put to side or refrigerate if you are not going to cook straight away, I always try to make it early, leave it covered in the fridge for a bit and let the liquid soak up.
  10. Cook for 30 minutes at 200˚C or until browned, ideally you want it to be nice and stodgy with some crispier sections on top.
  11. Just before the pudding is done, take another 100 ml of double cream and melt the remaining half of the chocolate on the hob or in a microwave if you are pushed for time. Stir well or whisk until the tow are combined without overcooking or burning. IT will be the consistency of a runny custard.
  12. REMEMBER - If you are doing a massive WCBP just up the liquids, add another egg and use more chocolate.
  13. Place portions of the WCBP in bowls and pour a nice amount of the hot mixture on top of the WCBP. I think the pudding is BEST when served with strawberries and I used some defrosted ones here as it's winter but winter berries work just as well to cut through the sweetness.
wcbp.jpg

Enjoy! This is a total crowdpleaser!!!

Quince/Apple & Polenta/Pistachio Crumble w/ Quince Ice Cream & Membrillo Shavings


Here is a re-experimentation created in an effort to make a slightly lighter crumble as well as to use lots of my quince preserves, in this case quince jam and membrillo. I always make the ice cream beforehand or the day before for one less step to complete on the day. If you don't have a jar of Smy Goodness or another type of quince jam you could make vanilla ice cream or serve with a good quality vanilla ice cream or frozen yoghurt. I had also made the membrillo about a month prior to this pudding but you could also buy ready made membrillo or omit it all together

CRUMBLE RECIPE
Ingredients

1 quince
2-3 apples
100g polenta
100g plain flour
100g butter, room temperature
70g sugar
handful of pistachios - finely chopped

Method

  1. Preheat the oven to 150°C.

  2. Lightly butter an ovenproof dish, I use one that is 15cm x 20cm. For a larger dish you may want to double the recipe.

  3. Peel, core, quarter and roughly chop the quince. Place the quince in an ovenproof dish top with 1 Tbsp of the sugar and shake to distribute and then place in the oven for 20 minutes. This will give the quince a head start as it requires a longer cooking time than the apple.

  4. Prepare the crumble topping by sifting the flour on to the top of the polenta. Add the sugar and chopped pistachios to the flour and polenta and stir well to mix.

  5. Add the butter and rub with clean fingertips to incorporate the butter throughout the dry ingredients until you have a crumbly texture that when pinched together will adhere to itself in clumps.

  6. Peel, core, quarter and roughly chop the apples into chunks.

  7. Remove the quince from the oven and immediately increase the heat to 180°C, add the apple to the quince and stir to distribute well. Be sure to use an oven glove and give the pan a shake so that the fruit levels out within the dish.

  8. Spoon the crumble topping on to the fruit until it has completely covered the fruit. Gently pat the crumble topping for a more compact topping.

  9. Return the dish to the oven and cook for 25-35 minutes or until the topping has gone golden brown. Remove from oven and allow the crumble to rest before serving.

QUINCE ICE CREAM RECIPE
Ingredients

200g milk
200g double cream
4 egg yolks
1 jar of Smy Goodness quince jam
vanilla seeds from half a vanilla bean or 1/2 tsp of organic vanilla extract
small pinch of salt

Method

  1. Place the milk and vanilla seeds into a pan. Turn the heat to medium but do not allow the milk to boil. Once the edges of the milk start to bubble remove it from the heat and allow it to cool.

  2. In a bowl or jug blend together the quince jam and egg yolks and salt.

  3. Once combined slowly stir in the double cream and beat until well combined.

  4. Now add the cooled down milk to the mixture and stir until completely blended.

  5. Add the mixture to an ice cream maker and follow directions. I have used a Gaggia and a Magimix

ASSEMBLY
S
erve a portion of the crumble on a plate or bow alongside a scoop of the ice cream and top the ice cream with very thin slices of membrillo.

Quince_o__Clock_I_turned_a_jug_of_extracted_quince_pectin_into_a_pattern.__pattern__quince__instafood__instaart__instafoodart__jugs.jpg

Above left are jars of quince jelly and a quince cordial that I made. On the right is a pattern/print that I made from a photo of extracted quince pectin in a jug.

Quince, freesias and the crumble and ice cream.


Gazpacho at Wentworth Children's Centre


Everyone loves a soup during the winter months to get all ones nutrients and to keep warm. Gazpacho is a great way to enjoy soup in the summer and stay hydrated, refreshed and get much of ones five a day. Gazpacho is typically a Spanish dish with a recipe that will vary and depend on whom you ask and how their parents or grandparents made it. The following is a simple Gazpacho recipe that is simple and fun to make with children and suited to their taste buds.

GAZPACHO RECIPE
Ingredients

1 kilo red ripe tomato chopped
1 green pepper deseeded and chopped
1 red pepper deseeded and chopped
1 large cucumber deseeded and chopped
1/2 a small white onion chopped
1 garlic clove chopped
250 ml tomato juice
100ml extra virgin olive oil
2 tablespoons cider vinegar
1 chunk or two slices of stale (not moldy) bread
salt and freshly milled black pepper

Method

  1. Cover and soak the bread with the tomato juice and leave while preparing the other ingredients.
  2. Combine the tomato, green and red pepper, cucumber, garlic and toss in the olive oil.
  3. Remove the bread from the tomato juice and squeeze the excess juice from the bread and add the bread to the prepared vegetables.
  4. Blend everything together in a food processor or with a hand blender until smooth with no chunks.
  5. Now stir in the olive oil, cider vinegar and salt and pepper to taste.
  6. Chill for at least two hours and serve as is or with garnishes such as finely diced cucumber, herbs, ham, eggs, spring onions, peppers or anything you would like.
 

Salmon Pasta and Salad at Wentworth Children's Centre


Here are the salmon and brocolli pasta and accompanying beetroot salad that we made today at the Healthy Eating Course held at Wentworth Children's Centre. My workshops focus on healthy recipes that are easy to prepare and cost-effective. The workshops allow for the parents and children to prepare ingredients and cook together and try new things. We cook our meals and then sit down together to enjoy the fruits of everyone's labour.

SALMON PASTA
Ingredients

400g pasta (penne or fusili or tagliatelle)
250g skinless and boneless salmon fillets
250ml yoghurt
150 ml vegetable stock
150g broccoli - chopped very finely
25g butter
25g parmesan (optional)
1 chili finely chopped
1 lemon
bay leaf
Mixed herbs
Salt and freshly ground black pepper to taste

Method

  1. First poach the salmon. In a medium saucepan, add the vegetable stock, the juice of half a lemon, bay leaf, salt, pepper and heat to medium high. Add the salmon with the skin side next to the pan. Cover, reduce the heat and cook for 5 minutes or until cooked through. Once cooked remove from pan, cover and allow to cook. Keep the poaching liquid. Break the salmon up in to smaller flakes and remove any bones that may still be in the filets.
  2. Prepare the water for the pasta according to the instructions and be sure to add salt to the water. Set a timer and cook the pasta until al dente, strain and reserve.
  3. Melt the butter in the pan with the poaching liquid, add the chili to the poached water and stir over medium heat for one minute.
  4. Then add the brocolli, cover with a lid and cook on medium heat for three to five minutes.
  5. Next add the yoghurt to the mixture and stir well until everything is combined well.
  6. Add the parmesan to the mixture and combine.
  7. Add the mixture and the flaked salmon to the pasta, add salt and pepper then stir and thoroughly combine.
  8. Garnish with fresh parsley (or any fresh herb) and serve.

SALAD
Ingredients

Rocket
Beetroot
Cucumber
Radish
Tomato
1 tbsp Olive oil
fresh cracked pepper and a pinch of salt

Method

  1. Finely chop all the ingredients with the exception of the rocket and place in a bowl.
  2. Toss together with the olive oil, salt and pepper.
  3. Gently stir and fold the rocket into the vegetables.
 

Banana & Apricot Compote Muffins

 
Banana & apricot compote muffin ingredients

Banana & apricot compote muffin ingredients

The bananas above needed using up so I whipped together another recipe for muffins where the sugar was replaced with a Smy Goodness compote, in this case Smy Goodness apricots compote. The compote adds moistness and flavour to the muffins without them being overly sweet.

Banana  & Apricot Compote Muffins Recipe

Ingredients: 

  • 100g organic spelt flour
  • 100g organic plain flour  
  • 100g organic butter
  • 275ml apricot compote (or any flavour jam/compote) 
  • 2 medium ripe bananas
  • 1 egg
  • 2 tsp baking powder
  • 1 tsp organic vanilla

Instructions  : 

  1. preheat the oven  to 210°C and lightly grease a muffin tray.
  2. Mix and blend the butter, compote, bananas, egg and vanilla. 
  3. Sift and flours and baking powder together.
  4. Fold the sifted flour and baking powder into the blended wet ingredients a bit at a time until completely blended together.
  5. Add a heaped tablespoon of the mixture into cases or muffin tray and then go back and add a bit of the mixture to each muffin case or tray until they are as equal as possible. The recipe will make 12-14 muffins. 
Sifted spelt and plain flour and baking powder

Sifted spelt and plain flour and baking powder

Banana, butter, apricot compote, vanilla and egg

Banana, butter, apricot compote, vanilla and egg

Combined wet ingredients

Combined wet ingredients

Mixture ready for muffin cases

Mixture ready for muffin cases

image.jpg
 

Handmade Pasta - Spaghetti


Here is a fifteen second video of my first attempt at making spelt spaghetti. Check out my spelt pasta blog post for the spelt pasta recipe.

Handmade spelt spaghetti with tomato and bacon sauce

Handmade spelt spaghetti with tomato and bacon sauce

The spaghetti was the inspiration for the above print painting that I made.

The spaghetti was the inspiration for the above print painting that I made.

 
Pasta sauce ingredients

Pasta sauce ingredients

 
Spelt Spaghetti

Spelt Spaghetti

Tomato sauce with bacon

Tomato sauce with bacon

Tomato Sauce with Bacon Recipe

Ingredients
450g tin of tomatoes or homemade pomodoro
150g bacon or pancetta
1 red pepper
1 shallot or 1/2 an onion chopped finely
2 garlic cloves sliced thinly
1 medium chilli chopped finely
2 Tbsp coconut or olive oil
2 Tbsp Six-pepper T'chup
salt and pepper and parmesan to taste

*For this recipe I used handmade spelt spaghetti using the recipe as linked above and using my Imperia pasta maker's spaghetti section. The section needed to be cleaned between each passing of the pasta sheets as little bits were getting stuck in the grooves which turn the sheets into spaghetti which was making the spaghetti sort of twisted and broken. I cooked my spaghetti for about 7 minutes which was much longer than the 4 minutes that I needed with my spelt fettucine that I made. I think this was due to me having left the fettucine to dry out longer than I had with the spaghetti.

The resulting recipe was hearty but not overly heavy, this is probably down to the spelt flour. With each bite I was able to taste the ingredients of the pasta and the flavours of the sauce. I find I'm eating less pasta now that I'm hand making it but the levels of flavour make it much more of an enjoyable pleasure. Next up will be lasagna but for now the recipe for the spelt spaghetti and tomato sauce with bacon and red peppers.

Instructions

  1. Chop and lightly fry the bacon in your preferred oil and cook for 5-7 minutes without browning or burning.
  2. Add the garlic, shallot and chilli and cook gently for 3-5 minutes, stirring constantly so that they do not burn.
  3. Add in the tomatoes, salt and pepper, turn the heat up to meduium hot and stir thoroughly until everything is bubbling away nicely. Cook for 5 minutes then place a lid over the sauce, reduce the heat to low and leave to cook for at least 45 minutes, checking occassionally that it is not drying out. If it is drying out you can add 75ml of water, stir it in and continue to cook.
  4. Cook your pasta and once ready and drained stir the sauce into the pasta until it is evenly dispersed, top with parmesan and serve.


Handmade Bath Bombs or Bath Fizzies


In our final six-week soap making course we made bath bombs or bath fizzies. We've all seen these in the shops or have received some as a gift and they are fun,give great results and are luckily easy to make. You can buy all the ingredients from most shops, chemists or online. To form the shapes of your bathbombs you can buy specific shapes online that will create round ones or use silicone moulds, recyclable items like little yoghurt pots or go to the pound shop and buy a muffin tray which is what I have used for this class.

Dry Ingredients
250g bicarbonate of soda
75g epsom salts or mineral salt
75g citric acid
50g cornstarch

Wet Ingredients
2 tsp oil
1/2 tsp water
4 drops essential oil/fragrance
1-2 drops food colouring/beauty grade colourings

Bath Bombs/Bath Fizzies Instructions

  1. Lightly grease your moulds, trays or containers with any oil.
  2. Mix all the dry ingredients together in a bowl, make sure there are no lumps at all, use a whisk or a spatula to make sure there are no lumps.
  3. Combine all your wet ingredients together in a separate container and thoroughly mix.
  4. In stages, add a little bit of the wet ingredients to the dry ingredients, stirring all the time, until both are combined. You might hear a bit of fizzing which is normal, you just need to keep stirring.
  5. .Your mixture will start to appear a bit damp and clumpy and you can test if it’s ready by balling some together in your hand. You want the mixture to hold it’s shape and not crumble. If it is crumbling and you have added all your colour mixture you can give your mixture a spray of water and them stir again until it holds together in your hands. Don't be tempted to add lots of water as this will make the mixture expand.
  6. When the mixture is ready you can add it to your moulds, trays or containers. Make sure to pack it in tightly to the mould, tray or container or the mixture will crumble and not hold its shape.
  7. Leave the moulds or trays for at least an hour and then remove. f using silicone moulds, leave your bath fizzies in over night and then take them out of the moulds.
  8. When packaging or storing your bath fizzies make sure that they are not kept in an air tight container or they will expand or explode. Keep them in a baggie or paper bag or box until ready to be used.


Beetroot Brownies made with Beetroot Jam

 
Beetroot Brownie

Beetroot Brownie

the beetroot brownie ingredients

the beetroot brownie ingredients

 
agave syrup

agave syrup


Last year I started making beetroot jam since I am obsessed with beetroot and probably eat it at least once a day. I did not want the beetroot jam to be overly sweet since the beetroot itself has so much natural sweetness. Last year I had also made a beetroot and black carrot cake that was so moist I immediately started plotting a beetroot preserve that I could have at the ready to add to cakes and brownies for added moisture. For this brownie recipe I endeavored to not add sugar but use only the Smy Goodness Beetroot Jam and a bit of agave syrup. If you do not have any beetroot jam to hand you can peel and boil 2 medium beetroot, allow to cool and grate into 4 tbsp of agave syrup. It was an experiment that I am pleased was successful. The resulting brownies were moist, rich, dense, not too sweet, with a perfect shiny brownie crust and had an additional texture pop of beetroot that will have me coming back to this recipe in the near future.

Beetroot Brownie Ingredients

  • 275g Smy Goodness Beetroot Jam (*If you do not have any beetroot jam to hand you can peel and boil 2 medium beetroot, allow to cool and grate into 4 tbsp of agave syrup. If you do not have agave syrup you can use 100g of caster sugar)
  • 200g organic plain flour
  • 200g organic butter
  • 3 eggs
  • 50g organic cocoa powder
  • 30g walnuts roughly chopped
  • 1 Tbsp agave syrup (*use 1 Tbsp caster sugar if you do not have agave syrup)
  • 1 tsp organic vanilla bean extract
  • pinch fine sea salt

Beetroot Brownie Instructions

  1. Preheat the oven to 180°C/200°C fan assisted.
  2. Prepare a 20cm x 20cm square tin with baking paper.
  3. Cream the butter and the beetroot jam (*If you do not have any beetroot jam to hand you can peel and boil 2 medium beetroot, allow to cool and grate into 4 tbsp of agave syrup. If you do not have agave syrup you can use 100g of caster sugar).
  4. Add the eggs to the mixture and blend thoroughly.
  5. Add the cocoa to the mixture and blend thoroughly.
  6. Add 1 Tbsp agave syrup to the mixture and blend thoroughly (*use 1 Tbsp caster sugar if you do not have agave syrup).
  7. Add the walnuts to the mixture and blend thoroughly.
  8. Spread the mixture evenly into the tin lined with baking paper.
  9. Place in the middle of the oven for 30-35 minutes. Do not allow the top to burn. Test the middle of the brownies with a toothpick, if it comes out clean it is ready.
  10. Use the baking paper to remove the brownies from the tin and allow to cool on a cooling rack. Slice into desired sized brownies and enjoy.
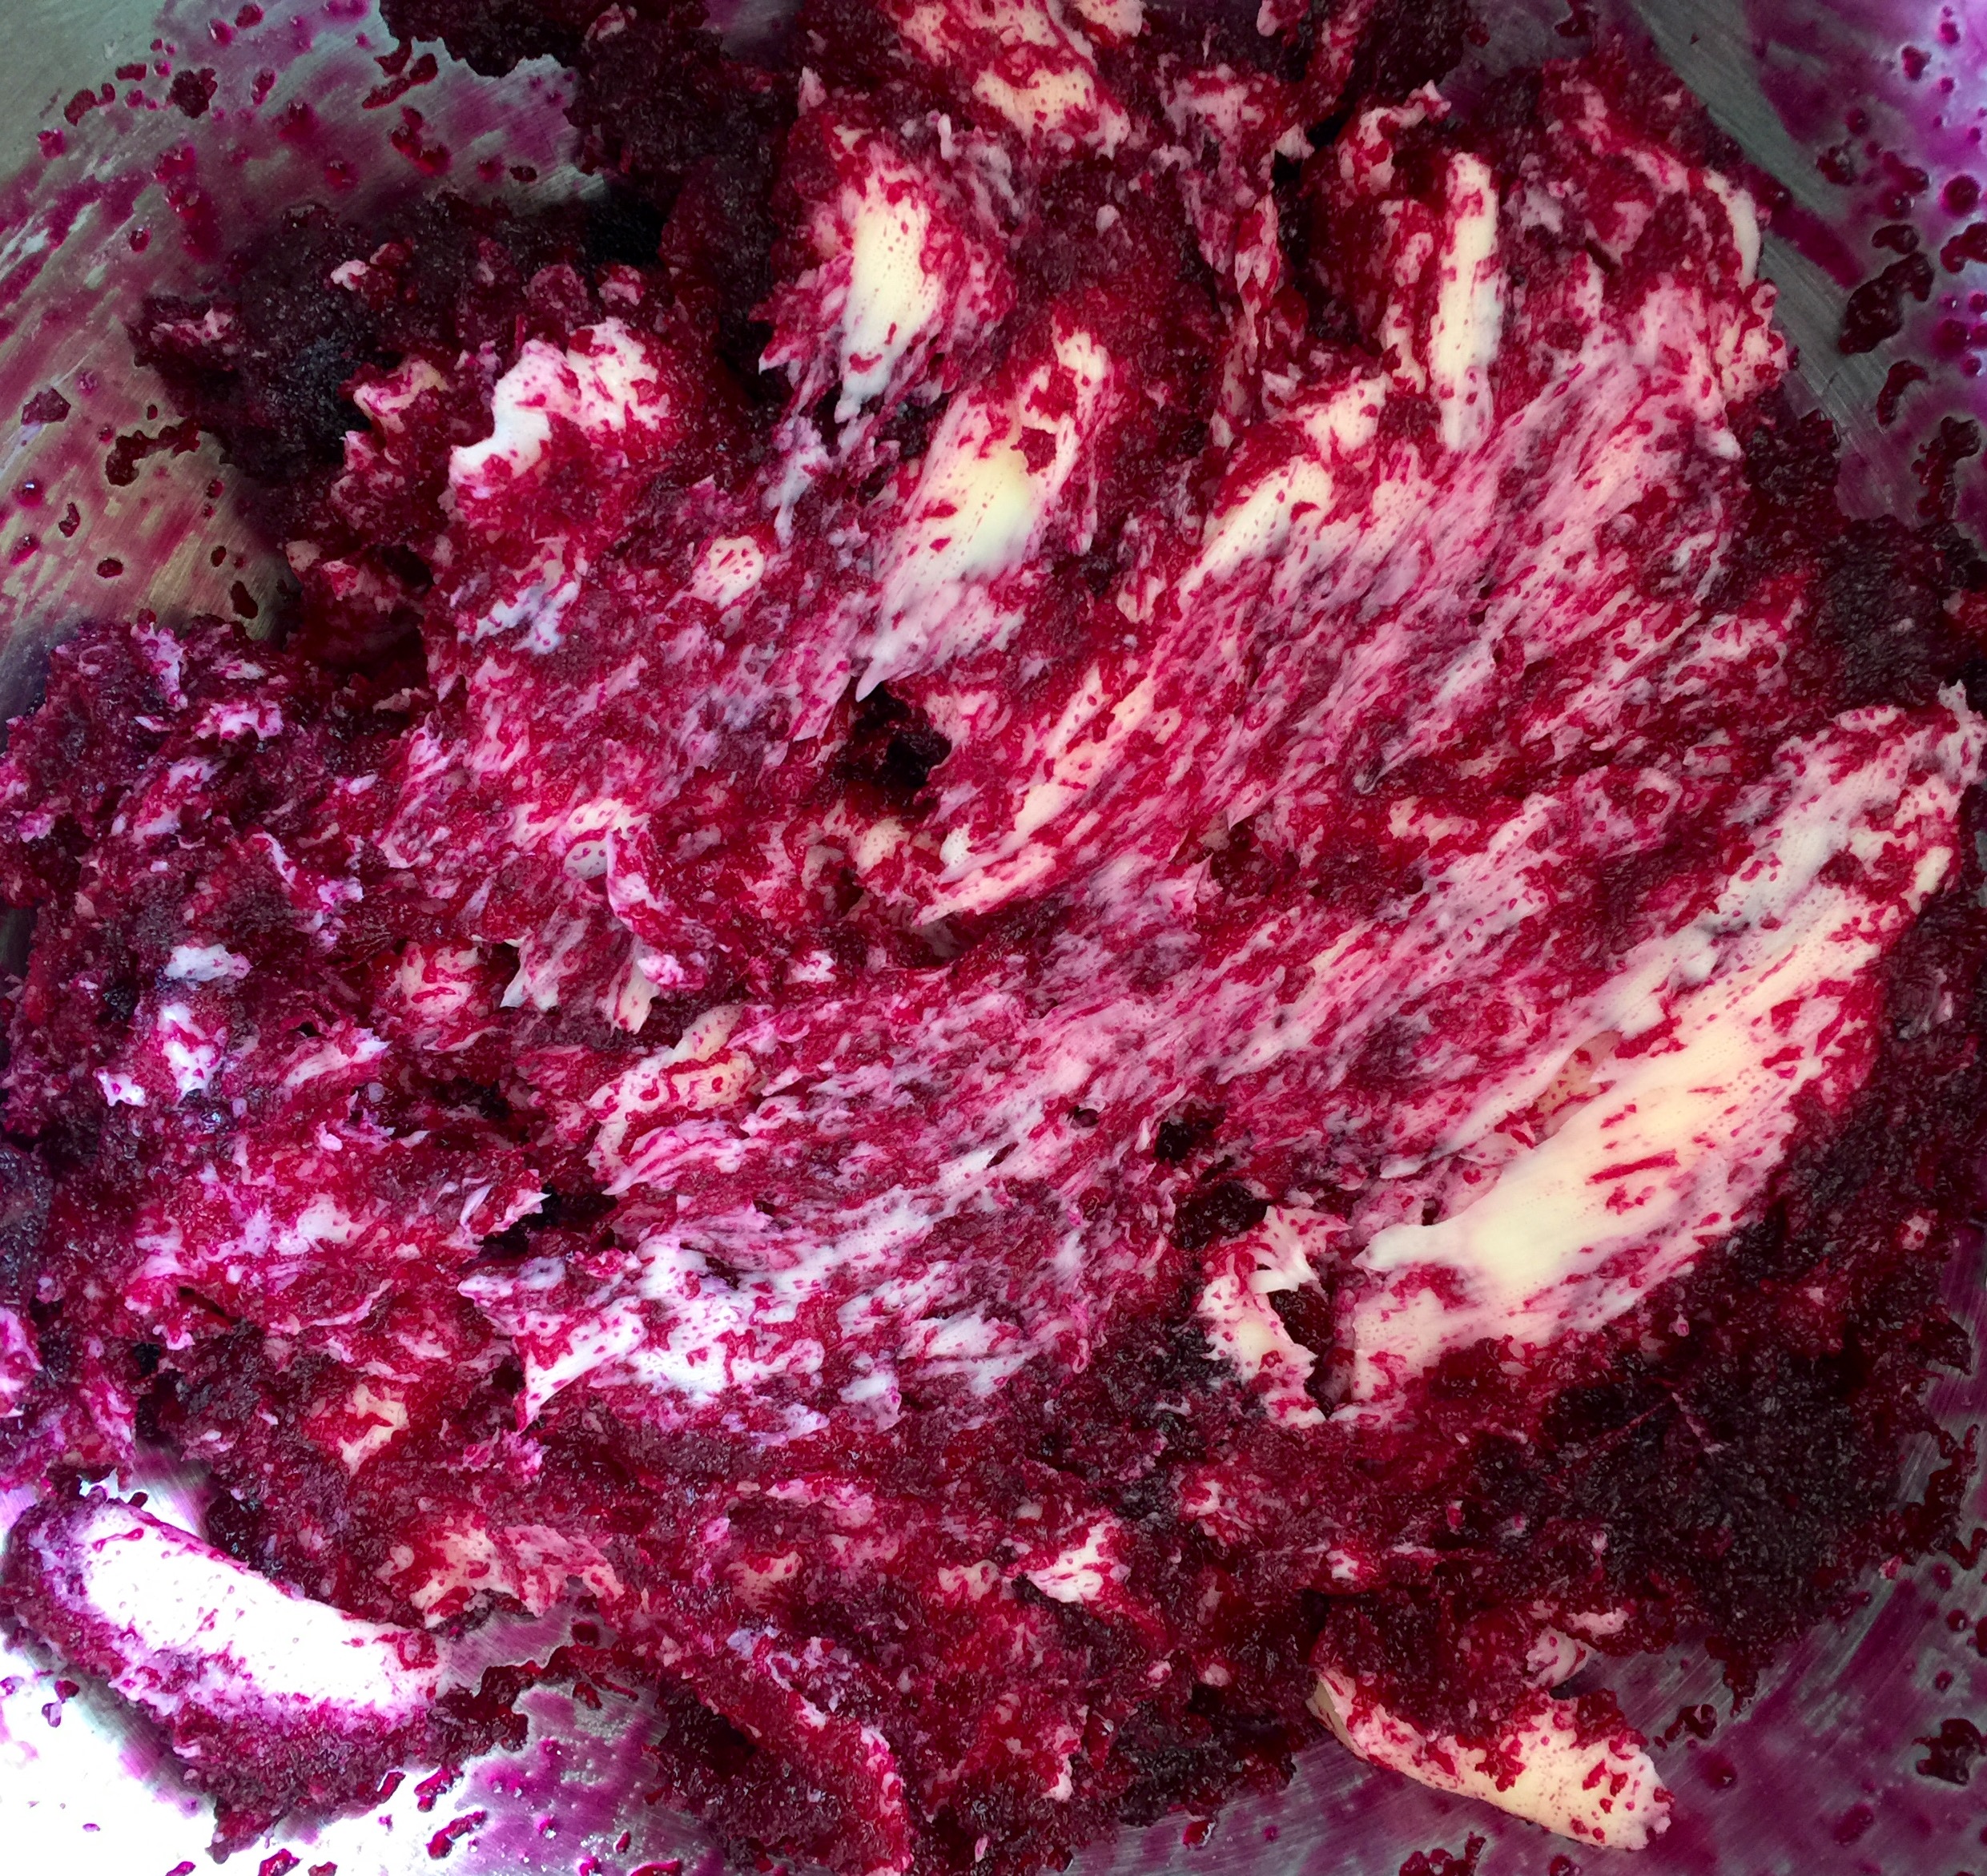
creaming the beetroot jam and butter

creaming the beetroot jam and butter

adding the eggs to the mixture

adding the eggs to the mixture

adding the organic cocoa to the mixture

adding the organic cocoa to the mixture

adding the agave syrup to the mixture

adding the agave syrup to the mixture

brownies about to go in the oven

brownies about to go in the oven

baked brownies

baked brownies


Burger & Veggie Burgers - Wk 6 - Healthy Eating Fast FoodTakeaway Alternatives

 
ingredients for the burgers and sweet potato chips

ingredients for the burgers and sweet potato chips

A burger and chips may be the poster child of the fast food world. Everyone loves burgers and chips in some fashion at one time or another. With McDonald's being so prevalent all over the world burgers and chips have buried themselves into our subconscious so that when we may need something cheap and/or quick and/or naughty they will pop into our minds as an option and/or craving. Burgers range in quality and price and variety and we may be tricked into thinking that a veggie burger is always a healthier option than a meat burger however just like their meaty cousins, veggie burgers range in quality and cost as well.

For this session we handmade our own veggie burgers and meat burgers and opted for a healthier sweet potato chip. What is great about making your own burgers is that you know exactly what is going in to them and you can adapt the recipe to suit your own tastes and preferences. The veggie burgers are made with butter beans but any pulse can be added. Both burgers can be made in advance and frozen which comes in handy for those times when you may not know what to cook or lack inspiration. When freezing the veggie bean burgers you want to freeze them before the flour, egg and breadcrumb stage and save that stage for after they are defrosted. I was guilty of whining to my mother when she made homemade burgers that, "They don't taste the same." I was right but they didn't taste the same because they tasted better and by getting everyone involved in preparing the salad, helping to shape the burgers, offering different toppings and seeing who can build the best burger - a homemade burgers and chips night can be a fun evening for family and friends.

creating the butter bean burgers

creating the butter bean burgers

butter bean burgers

butter bean burgers

Butter Bean Burger Ingredients:
400g can butter beans (*or any pulse) - drained, rinsed and shells removed
30g fresh mozzarella chopped (*or substitute a cheese of your choice)
30g parmesan grated (*or substitute a cheese of your choice)
4 tbsp coconut oil (* or substitute olive oil)
1/2 onion, finely chopped
1 garlic clove, crushed
1 Tbsp sesame seeds
1/2 tsp ground cumin
1/2 tsp ground coriander
1/2 tsp chili powder
handful of chopped parsley
3 tbsp plain flour
1 egg beaten
75g fresh white breadcrumbs
fine sea salt and freshly ground pepper to taste

* use a cheese of your choice or substitute 60 grams of left over mashed potato

Butter Bean Burger Instructions

  1. Use a fork to mash up the beans in a bowl and set aside.
  2. Gently heat the coconut oil in a pan and add the onion and garlic. Cook over a low heat for 4-6 mins, until softened.
  3. Add the onion and garlic mixture into the butter beans and stir.
  4. Add the cheeses, sesame seeds, cumin, coriander, chili and parsley. Shape the mixture into burgers of your desired size, cover and chili for 20 mins.
  5. Set up three plates; one for the flour, one for the beaten egg and one for the breadcrumbs.
  6. Roll each burger in the flour, then the egg and then the breadcrumbs - making sure the burger is coated all over at each stage.
  7. Heat the remaining 2 Tbsp of coconut oil to medium in a non-stick frying pan and add burgers. Cook for 5-7 minutes on each side until golden brown.
  8. Place on a piece of kitchen paper to remove excess oil and serve on their own or with pita bread, rolls or salad.
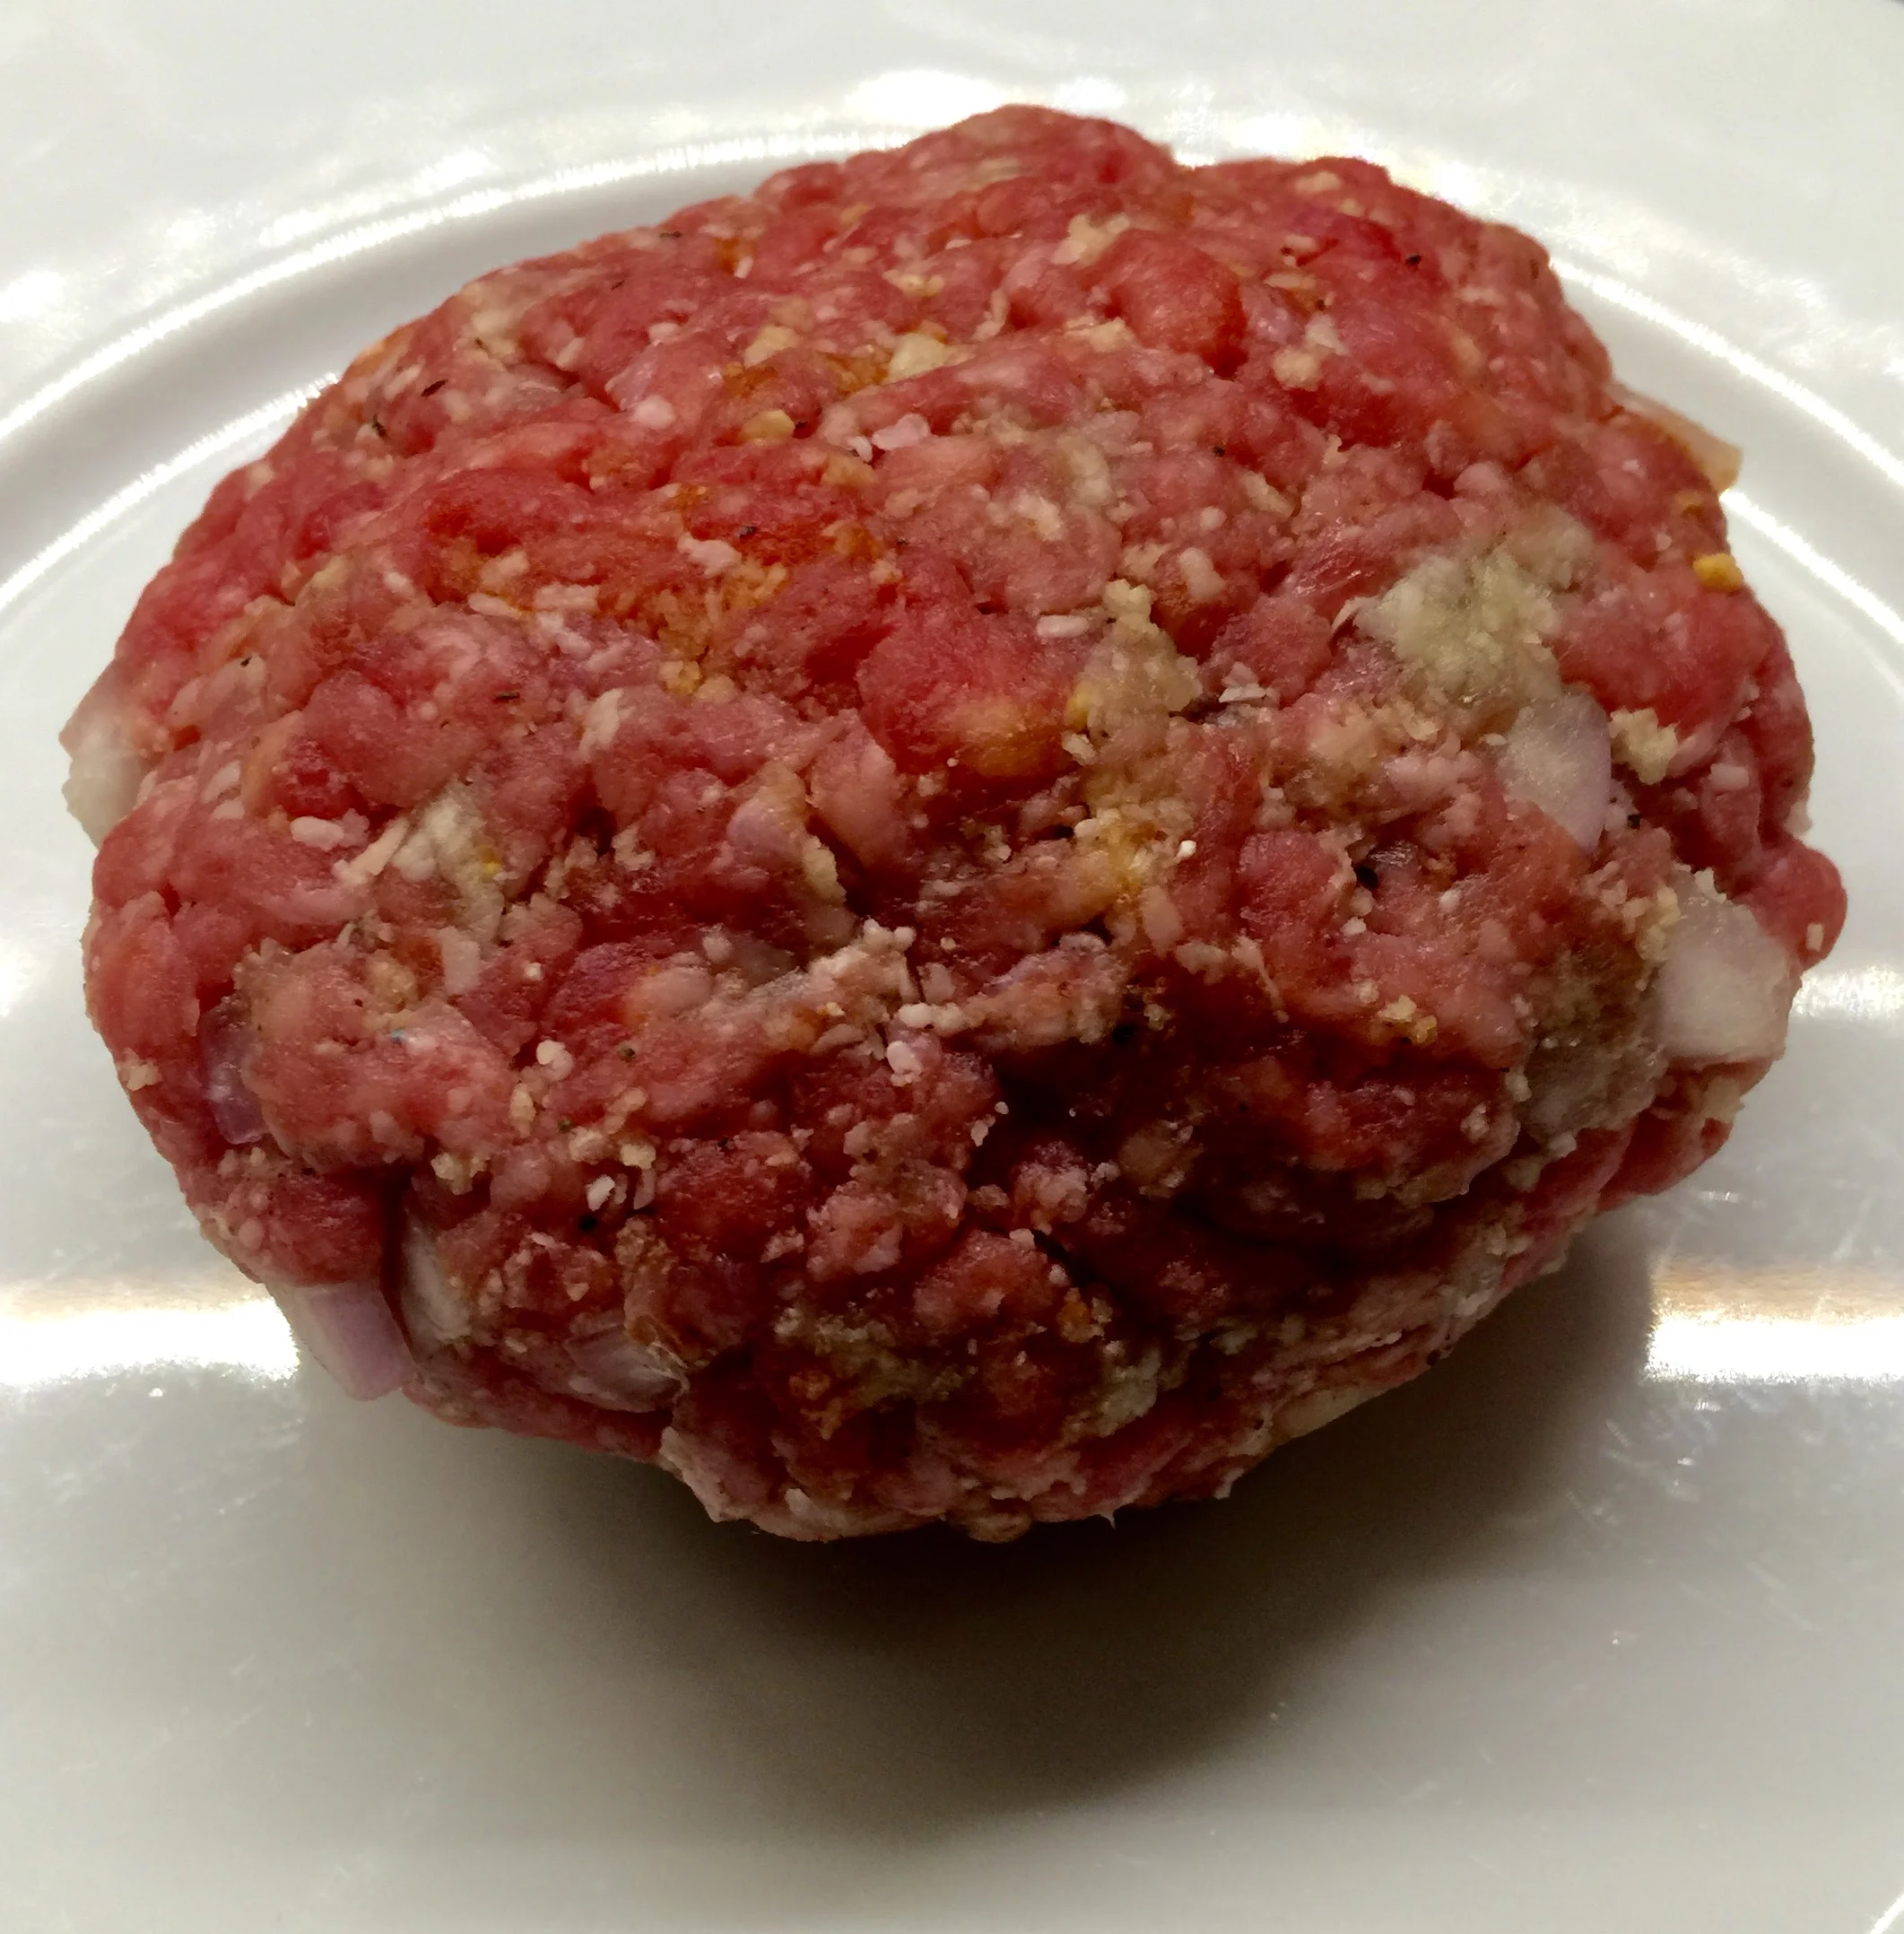
shaping the beef burgers

shaping the beef burgers

beef burgers and sweet potato chips

beef burgers and sweet potato chips

Beef Burger Ingredients
500g pack extra-lean beef mince
100g fine breadcrumbs
1 onion, minced
3 cloves of garlic minced
1 Tbsp coconut oil
1 Tbsp dijon mustard
1 Tbsp tomato paste
1/2 tsp onion powder
1/2 tsp mixed dried herbs
1/4 tsp chili powder
1/4 tsp sea salt
1/4 tsp freshly cracked black pepper

Beef Burger Instructions

  1. Add all the ingredients in a large bowl and thoroughly mix.
  2. With clean hands shape the mixture into burgers of your desired size and thickness. Place in a single layer on a plate, cover with plastic wrap and put in the fridge for 15 minutes.
  3. Heat 1 Tbsp of coconut oil on a non-stick frying pan and cook for 4-8 minutes on each side until cooked as desired.
  4. Place on a piece of kitchen paper to rest and remove excess oil and serve on their own or with pita bread, rolls or salad.
sweet potato chips

sweet potato chips

blackened sweet potato chips

blackened sweet potato chips

Blackened Sweet Potato Chips Ingredients*
4 medium sweet potatoes, cut into chips size and width of a pinkie finger
1 Tbsp coconut oil
pinch smoked paprika
pinch chilli flakes
pinch ground cumin
pinch ground coriander
pinch onion salt
pinch garlic salt
pinch cayenne pepper
pinch black pepper
pinch oregano
pinch thyme
pinch of freshly ground black pepper
* omit or add ingredients as desired or available

Blackened Sweet Potato Chips Instructions

  1. Preheat the oven to 220°C/200°C if it's fan assisted.
  2. Cut sweet potatoes into chips roughly the size and width of a pinkie finger.
  3. Add all the dry ingredients and the coconut oil into a bowl and mix together thoroughly.
  4. Add the sweet potato chips to the bowl and mix thoroughly so that the oil and seasoning are dispersed all over the chips.
  5. Place onto two baking trays so that the chips are in a single layer.
  6. Place into a preheated oven and cook for half an hour, turning at the midway point and making sure that they do not burn.
 
our feast of beef burgers, butter bean burgers and blackened sweet potato chips with tomato salad

our feast of beef burgers, butter bean burgers and blackened sweet potato chips with tomato salad


Beetroot Bunches

This little Beetroot Bunches pattern was made from photographs that I took of the cross section of a beetroot and of them in bunches...much like the title suggest. Beetroot are one of my favourite go to veg for juicing, roasting, in salads and in deserts. I love to hear the groans when I tell students that we will be making beetroot brownies; listening to the protestations of how much they are hated and eventually listening to the surprised exclamations of surprise that they are actually enjoying them in brownie form. They really do increase the moistness of cakes and brownies whilst providing healthy sugars. You can see my Beetroot Brownie recipe and post for more details.